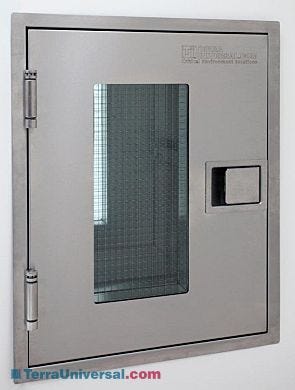
Fire-Rated and Ruggedized wall-mount pass-throughs can be installed and ready for operation in a few minutes once the wall cut-out is prepared. The process for contractors is straightforward, requiring the parts received from Terra, two people and the following additional supplies:
- Phillips screwdrivers
- Level
- Fastener hardware appropriate for wall material (drywall or masonry, as examples). The number of fasteners needed will depend on the chamber size
- Sealant or caulking approved for fire-rated walls (in case of gaps due to wall imperfections)
Follow these steps to install the Pass-Through Chamber:
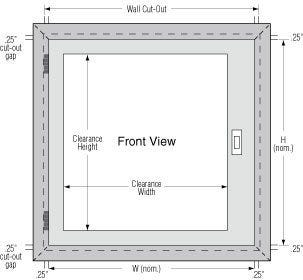
- Prepare the wall cut-out so that it’s a half-inch (0.5”) wider than the width and a half-inch (0.5 ”) taller than the height of the pass-through chamber
- With a colleague, insert the pass-through chamber into the wall opening from the “clean” side. The welded bracket will fit flush against the wall. Confirm that the chamber is level, then secure the unit to the wall using the pre-drilled holes along the sides of the chamber; fasteners go directly into the wall cut-out
- From the “dirty” side, fit the pre-welded, predrilled mounting bracket around the chamber, and secure against the wall with bolts
- The installation is complete!

Access Clearances
- Width = W (nominal) – 1.88"
- Depth = D (nominal)* – 0.12"
- Height = H (nominal) – 1.25"
- Wall Cut-Out = W (nominal) +0.5" x H (nominal) + 0.5"
- Subtract 0.5" for plastic chambers. Each door adds 0.5" to nominal depth.


